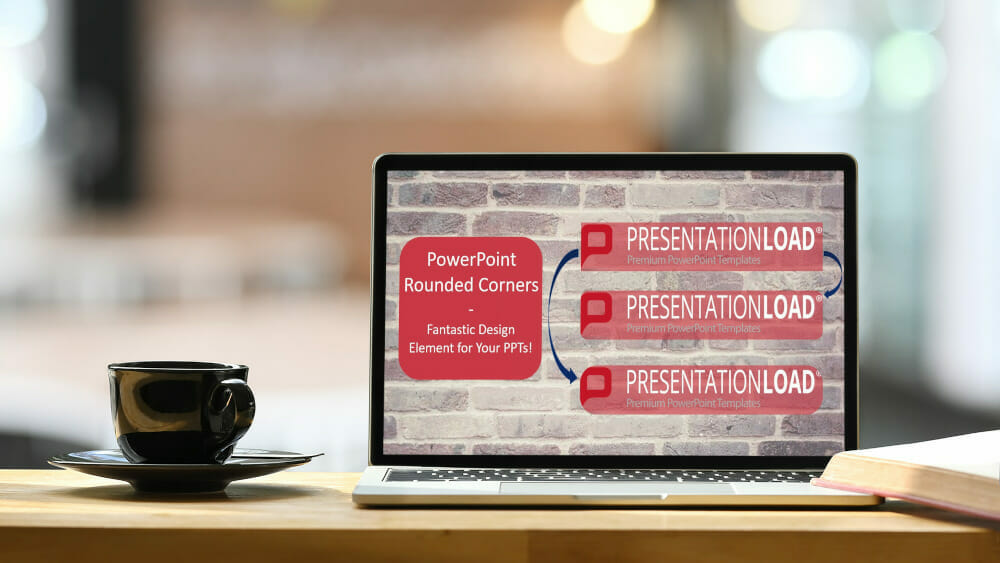
PowerPoint Rounded Corners: A Really Fantastic Design Element!
If you’ve already come across and been impressed by shapes or pictures with rounded corners in PowerPoint, you’ll know that they are a great way to make presentations look fresh, modern and elegant. It’s a simple way to use creative design to make your presentations really stand out!
Today we’ll show you just how to apply PowerPoint rounded corners, so you can get the most out of your presentations.
Rounding off PowerPoint Corners: First choose Your Pictures or Shapes
So you want to try getting rid of sharp edges and corners on your images or shapes in PowerPoint, and give rounded corners a try? We’re here to help.
Firstly, of course, you need pictures which are relevant to and enhance the topic you’re presenting (tips on how to choose and insert images into a presentation can be found here). You can round off the corners of shapes, too; for example in diagrams or process illustrations!
Corners cn be rounded to the extent you want – fully smoothed around, or left pretty sharp. To keep your design corporate, coherent and professional, though, you need to choose your style and stick to it throughout your presentation. Whether you go for sharp corners or rounded will depend on which one suits the rest of your presentation.
PowerPoint Rounded Corners: Here’s how!
PowerPoint allows you to round corners easily and effectively, without having to use an external graphics program. There are different options of rounding off corners, depending on what you’re using in your presentation:
Option 1: Pictures
This is for when you want to insert a picture and round off its corners.
Step 1:
Go to the Insert tab, and click on Pictures. (You can also insert an image directly into your presentation.

Step 2:
Adjust your picture to the size and position you want.
- To resize a picture: use the points at the corners of the image. Click on one corner, left click and hold while you drag the corner in or out to get your picture to the size you want.
- To change a picture’s position: Hover the cursor over your picture; this will then change to a four-arrow-symbol. Now click on it and hold, and simply drag your picture to where you want it to appear on the slide.
You can make further edits using the Picture Format tab that opens as soon as you click on the image.

This also allows you to alter your picture size or crop the image.

(The tab also lets you modify your picture in many more interesting ways. You can, for example, make it more transparent by using the Transparency option. (For more info on transparent images, see this post.) Or you can adjust the colors. There are many other customization options available to allow you to fit your image perfectly to your presentation.)
Right-clicking on your image allows you to make even more changes. The Format Picture menu will open on the right-hand side of the presentation:

Step 3:
Select Crop in the Picture format tab.

A drop-down menu will open: click on Crop to shape and select the rectangle with rounded corners.


Step 4:
A yellow dot will appear at the upper left edge of your image. Right-clicking on this and dragging it left or right alters the radius of the corner curve: move it to the left for smaller, sharper corners,and to the right for larger, rounder corners.

Then simply save. Your picture now has elegantly rounded corners!
Option 2: Shapes
If you want to create a shape and fill in the text afterwards, this is how.
Step 1:
Open a new PowerPoint presentation. Using the Insert tab on the main menu bar, click on Shapes and then Rectangles, and choose Rectangle: rounded corners.

Step 2:
Draw the rectangle to the size you need.

Step 3:
Right-click on the rectangle to open the Shape Format tab. This lets you change your shape, to get it exactly how you want it, in a similar way to step 2 of the first option.

You can also right-click on your rectangle and choose Format Shape from the drop-down menu; this opens the Format Shape options on the right-hand side of the presentation, letting you edit your shape.

Step 4:
Once again, you can alter the radius of the corners by clicking on the rectangle, then the yellow point that appears at the top left edge, then dragging it to the left for smaller, sharper corners and to the right for larger, rounder corners.

Now save the file; you have successfully rounded your PowerPoint corners!
Conclusion: PowerPoint Rounded Corners: An Easy and Quick Way to Freshen Up Your Presentation Design!
PowerPoint rounded corners appeal? Go for it! They’re a great way to subtly impress your audience and emphasize your content.
Our step-by-step instructions mean you can easily and quickly create the effect yourself, without having to mess around with external graphics programs. Why not give it a try?
If you’ve any questions about rounding PowerPoint corners, or indeed about PowerPoint in general, do feel free to email us at [email protected]. We’re always happy to help!
Want to explore more professional PowerPoint shape templates? Have a look at our store – we have a great variety of shape templates on offer, from circles to arrows, cubes to pyramids. Just a couple of examples:


You might also be interested in these articles:
Share this post


-

Design Thinking: Problem Solving with a Difference
-
Why Corporate Mission Statements Are So Important
-
7 Tips & Learnings from the Apple Keynote


-
Design Thinking: Problem Solving with a Difference
-
Why Corporate Mission Statements Are So Important
-
7 Tips & Learnings from the Apple Keynote